
Gallery walls are a great way to give a home a touch of personality. Whether you want to display family photos, art, or a mix of both, a gallery wall can be a phenomenal creative outlet to showcase your style and vision.
Although a gallery wall is a fascinating DIY project, it can be overwhelming if you don’t know where to start. So we came up with a step-by-step guide to help you out, starting with…
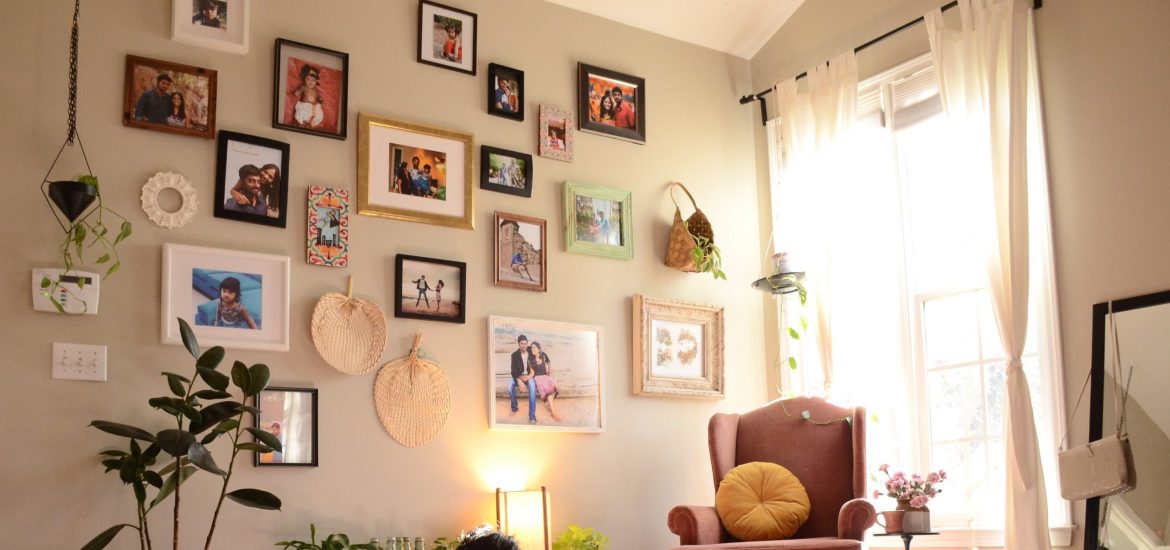
Step 1: Choose a Wall
The first step of this adventure is picking the right wall, one that is visible and easy to access. Good examples include a living room, a bedroom, or a hallway.
Some things to consider include:
- The lighting of the room and how much natural light the wall receives.
- The style and color of the wall.
- The size of the wall and how many pieces you can fit in it.
The wall is the foundation for your gallery. Choosing the right one will help make the rest of the steps much more effortless.
Step 2: Select Artwork
This step can be the most daunting of the journey because of how many elements you must consider. But don’t worry; we made a list of things to consider when selecting your artwork.
- Types of artwork suitable for a gallery wall: You can choose from paintings, photographs, prints, sculptures, and more.
- Considerations when selecting artwork: The outcome should feel cohesive, so you want to consider size, color, and theme when deciding on a piece.
- Tips for selecting artwork:
- a) Choosing a theme or color scheme: To decide on a color scheme or a theme, you should start by selecting what type of mood or feeling you want to convey. After that, consider the room’s color and go for something that clicks. We recommend checking samples online and studying color palettes to determine what theme works.
- b) Mixing and matching different styles and sizes of artwork: Symmetry can be appealing, but it’s not the best approach. We recommend a mix of different styles, sizes, and shapes for a more dynamic and unique result.
- c) Incorporating personal items, such as travel souvenirs or family heirlooms: Personal items, antiques and heirlooms are a great way to add a personal touch to your gallery wall. They add sentimental value to it and honor your history and family.
- d) Scanning old photo albums to use digital images for a personalized and nostalgic touch: Old photo albums add a lot of nostalgia to a gallery wall but can be hard to work with. It’s good news that there are many experts who can help bring old memories back to life by converting them into digital format. According to our research, one of the best companies for this is called Capture. It can digitize old albums and photos without taking them out of the album. Album digitization is the safest way to integrate old photos into your gallery wall.
If you follow these tips, you will have a solid idea of how to pick pieces, but what comes next after that? Well…
Step 3: Gather Supplies
Creating beautiful gallery walls takes some supplies. Measuring tools, picture frames, wall hooks, protective gear, and cleaning supplies are good examples. Plan your gallery wall before purchasing supplies so your costs are minimal.
Step 4: Plan Layout
Planning the layout of your gallery before committing can be a valuable step. We recommend gathering your pieces based on their sizes and shapes and arranging them on the floor to see how they fit.
Take an initial photo of it as a reference, and take more photos as you make changes. Then, choose the one that is the most appealing to you.
Step 5: Hang Artwork
Now it’s time to install your gallery.
- The first piece you hang should be in the center. You can then use it as a guide for mounting the rest.
- Ensure your artwork hangs or is mounted level and is at eye height. Then, to keep the gallery cohesive, use measuring tools to space the pieces.
- Remember to step back occasionally to have a broader perspective of the gallery.
Step 6: Finishing Touches
Once you have hung all your artwork, you can start fixing any problems you see. After that, you can add lighting, plants, or decorative elements to enhance its appeal.
Conclusion
Now that you have a solid idea of how to start and create a DIY gallery project, it’s only a matter of time until your very own gallery wall is ready to captivate anyone who gazes upon it. To create a truly personal gallery wall, check out Capture’s digitization services to help you create art of your old family photos – ready to display.
Just remember: Have as much fun as you can on this journey!