
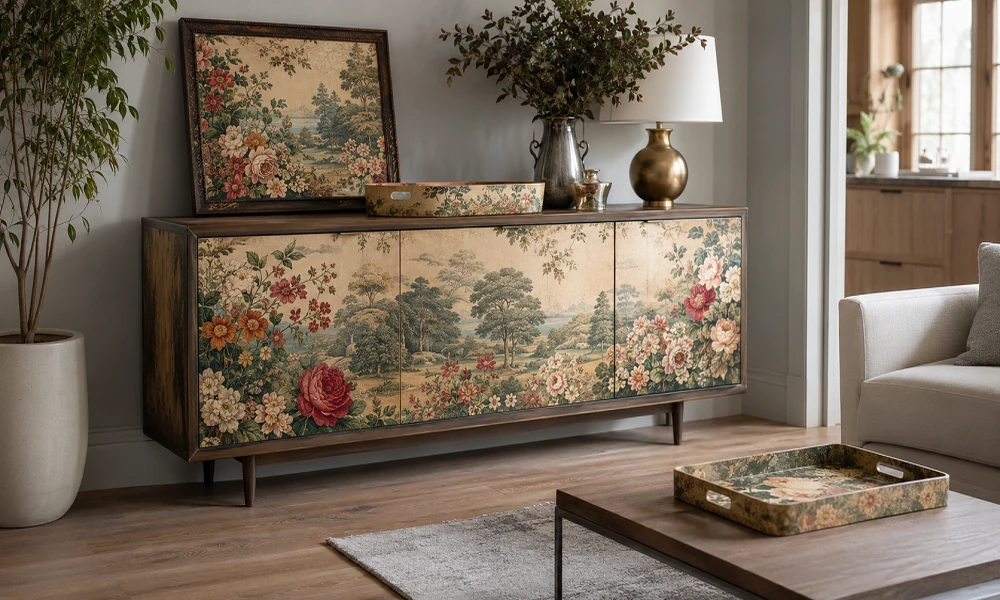
A piece of furniture does not need a complete rebuild to feel new. A well-chosen printed image can change its mood, introduce color, and give an ordinary surface a clear point of view.
Decoupage gives makers a practical way to achieve that transformation. It combines printed imagery with paint, adhesive, and finish, allowing each project to look personal without requiring advanced drawing skills. The result can be quiet and refined, bold and playful, or richly layered.
One Image Can Redefine a Piece
A large botanical design across a cabinet front can make the furniture feel like functional art. A landscape on a drawer panel may create depth, while a small bird, border, or floral detail can add character without covering the original finish.
This decorative method has a long history. The Metropolitan Museum of Art documents historic furniture and objects decorated with colored cutout prints, including an eighteenth-century Venetian secretary, candlestand, and box. Modern makers can draw on that tradition while choosing colors and subjects that suit today’s interiors.
Scale matters. A dramatic image can anchor a large surface, while smaller motifs suit curved edges, drawer sides, boxes, or areas with architectural detail. Viewing the paper from across the room helps reveal whether the composition feels balanced.
Choose the Paper for the Surface and Style
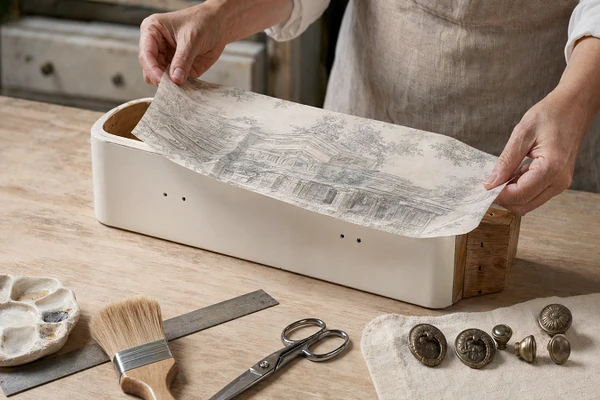
Different papers create different working experiences. Thin rice paper can settle easily over a prepared surface and often blends softly into painted backgrounds. Heavier sheets provide more structure and may suit larger images or projects where the print needs a strong presence. The surface, adhesive, and intended finish should guide the choice.
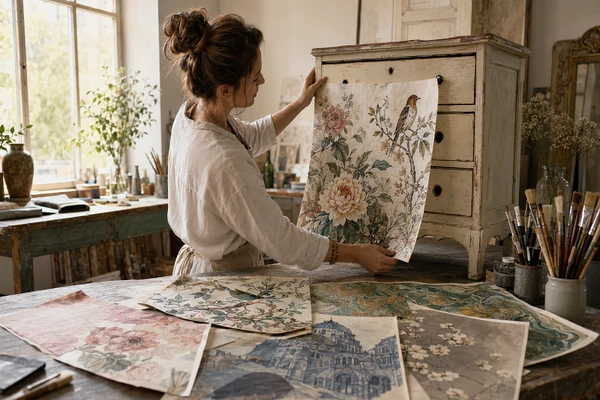
Milton’s Daughter brings together Decoupage Papers from collections such as Decoupage Queen, Paper Designs, Monahan Papers, ITD Collection, AB Studio, Calambour, and Made by Marley. The selection spans florals, birds, bohemian patterns, vintage imagery, architectural scenes, seasonal art, and other distinctive themes. Makers can therefore begin with the project’s story rather than settling for an image that merely fits.
Color matters too. The paper need not match the base paint exactly; repeating a single accent shade can connect the image to the piece. Muted backgrounds calm a detailed print, while deeper color helps pale artwork stand out.
Plan the Placement Before Applying Adhesive
Dry placement prevents many avoidable problems. The maker can position the full sheet, mark the important edges, and decide which portion of the artwork should remain visible. Handles, mouldings, seams, and drawer gaps should be considered before the image is trimmed.
A clean, stable, properly prepared surface gives the paper a better foundation. Application methods vary by paper type and medium, so product directions should lead the process. Working gradually from one area to another can help control bubbles and wrinkles. A small test on a sample board is useful when combining unfamiliar paper, paint, or finish.
Edges also shape the result. A precise cut looks crisp; a carefully torn edge blends into paint or texture. Once dry, subtle shading or a narrow painted border can integrate the image.
Build Depth in Mixed Media Art
Printed imagery can serve as either the focal point or a supporting layer. A floral sheet might sit over softly painted texture, faint stamping, or moulded details. A vintage illustration can be paired with neutral washes and simple line work. A bold abstract pattern may need little more than a clean frame of color.
Strong mixed media work depends on editing. A limited palette, varied scale, and open areas give the eye room to rest. A few deliberate choices usually look more polished than many unrelated effects.
The same approach can connect several objects in a room. Coordinating, rather than identical, images may be used on a tray, small box, and framed panel. Each item remains individual, yet the repeated colors or motifs form a subtle collection.
Store Unused Sheets with Care
Future projects benefit from proper storage. Keep unused paper flat, clean, dry, and protected from direct sunlight. The Canadian Conservation Institute’s guidance for storing works on paper recommends using protective materials and keeping them in a clean environment away from moisture, heat sources, and strong light. Simple care can prevent creases, fading, dust, and accidental damage.
Give the Next Project a Distinctive Finish
Decoupage can turn a practical object into something expressive, but the image should still serve the piece’s shape, function, and setting. With thoughtful scale, careful placement, and a balanced finish, furniture and home accessories can gain new life without losing their usefulness. Visit Milton’s Daughter to explore the available designs and choose the paper that can bring the next creative idea into focus.
