
A fresh coat of paint brings a fresh start in your home. A new paint job is due every few years for a number of reasons, but the good thing about that is that you don’t always have to use the same colors. Let your artistic juices flow free, and come up with something new that’s going to give your home a completely new look, and a new mood. I decided to do this in my apartment so I needed some ideas and advice from Paint X Services who were more than willing to show me a few tricks that just might help me do my first DIY paint job.
Mix the Cans
When you finally decide what the new color is going to be, you will then go shopping for a few cans of that paint normally. The problem is that even though it’s the same color, none of the cans are exactly the same and if you open a new one after you’ve exhausted the previous one you might find yourself using a slightly different color.
To avoid the color discrepancy, you need to open all of them and mix them in a bucket to let the paint homogenize. This is also called boxing. Don’t spend too much time thinking about how much paint you should use, instead put everything you’ve bought because you can always use the leftovers later.
Preparations
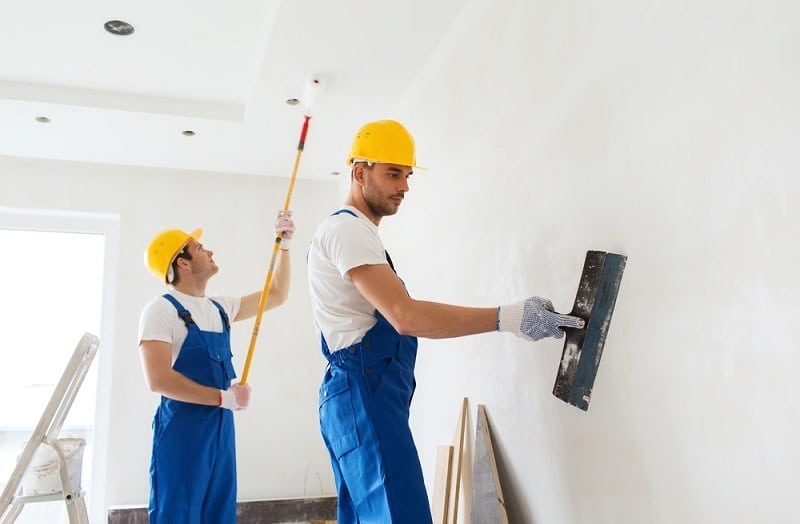
Before you go further, it’s important to prepare your walls and ceilings for new paint. Use an old cloth to clean the walls from dust and cobweb, these might cause problems when you start working, and then the job becomes more difficult.
It is also important to remember to cover areas you don’t want the paint to accidentally drip onto. Floors, doorknobs, and whatnot. For floors, you should use old rugs and cloth, generally something you wouldn’t mind disposing of later. You should also use painter’s tape to cover wooden areas.
Filling holes in the walls with spackle and dry sand should also be considered because this is a unique opportunity to restore the smoothness before applying new paint.
What to Paint First
First, you should paint the trim, then the ceiling and walls in the end. This order is important because you can much easier focus on the trim texture without having to worry about the walls getting sprayed, and that’s why you leave them for later. After 24 hours when the trim has dried out you can move on to ceilings and walls.
Equipment
Depending on what type of paint you are going to use you should adjust your brush choice accordingly. Water-based paint and nylon-bristle brushes go well together while oil-based paint goes better with natural hair brushes. You can also use latex paint and combo that with nylon or polyester brushes.
Different rollers are also used for different surfaces. For smoother areas that are going to require a more precise approach, you should use a smaller roller whereas for rougher areas with an increased texture are more suited for a bigger roller to reduce the overall time needed to paint the whole thing.
When You’re Done
Cleaning your tools comes in the end. Latex paint can be cleaned with soap and water right after use. For other types of paint, you are going to need a solvent in which you need to dip the dirty brush and hold it inside until the paint is gone.
The paint that you didn’t use can be placed in small jars or cups for some next use, or to cover up spots you’ve missed.